Ed’s Honda TL125
Ed’s Honda TL125 Restoration Journey.
I purchased this bike in 1991 as a ‘very used and tired’ TL125 ‘S’ (1976) model produced for the UK market.
The bike was not totally original and needed many hours spent to restore to it’s former glory. The bike ran and cost me £300 to purchase used after 19 years of hard use.
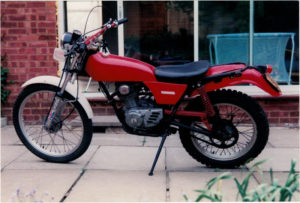
This photo shows the original bike as purchased and it was in a fairly poor condition, with many of the original cycle parts removed and replaced with non-standard items. As I purchased the bike with the intention of a restoration, all the non standard items were removed during the strip down.
I estimate that approximately 200 man hours were spent on the strip-down, refurbishment of existing salvageable parts where they were able to be re-conditioned, re-plated, or painted. I did all the work myself with the exception of powder coat paint to the frame and swing arm, vapour blasting the alloy engine parts, and re-spoking the wheel rims with new polished stainless steel spokes.
The engine was completely dismantled for inspection, and new barrel, piston, rings, bearings and ancillaries were fitted.
The bike was restored to original Honda specification with Genuine Honda parts, some were extremely difficult to source!
The only ‘non’ original parts I fitted were a set of ‘Renthal’ alloy trials handlebars and the polished stainless steel wheel spokes. (For those that seek total originality I can always change these later on !)
All parts were ordered from Honda UK as and when I found the time to complete a particular area of the bike, I ended up being extremely friendly over a 3 year period with my local Yamaha dealer (at Moore’s Motorcycles in Hemel Hempstead, Hertfordshire), whilst sourcing the original Honda parts from their parts counter, they were most helpful and had all the Honda Parts Catalogues and microfiche which were needed.
As with any restoration, there are still a few items which need improving on the bike, I will be sorting these out over the coming weeks, and plan to start showing the bike at UK motorcycle shows next year during 2019 and onward’s, where I hope to motivate enthusiasts of this type of bike to have a go and restore a bike for themselves. Once the restoration was completed I ended up storing the bike away in a damp-free environment for many years, the dilemma with any restoration to this standard is do you then ‘Use’ the bike again as intended, or keep it in it’s restored condition. I decided at the time to store the bike away as I have other machines for daily use, with the intention of getting it back to shows and ride-out’s etc. once this website was completed. The time is now finally here as I have more time to pursue my hobby again with this bike, and hope to share my journey on these pages. Everyone has a different view about this, I did receive some criticism online for storing the bike away, but now I think it was worth it, as the bike has survived unmarked and will be occasionally run up at shows and events for people to see (and if you are in your 40’s and 50’s) you may remember seeing one on the road in the 70’s and 80’s as well!
During the restoration I accumulated a large amount of TL125 information and resource material, I will be sharing this on the site for others to use and download for future assistance, either if you own, or are thinking of owning, one of these great little bikes.
That’s about it for now, I hope you enjoy the site, I will look forwards to comments from you if you feel I need to change or add any content as the website evolves into a ‘go-to’ place for TL125 enthusiasts.
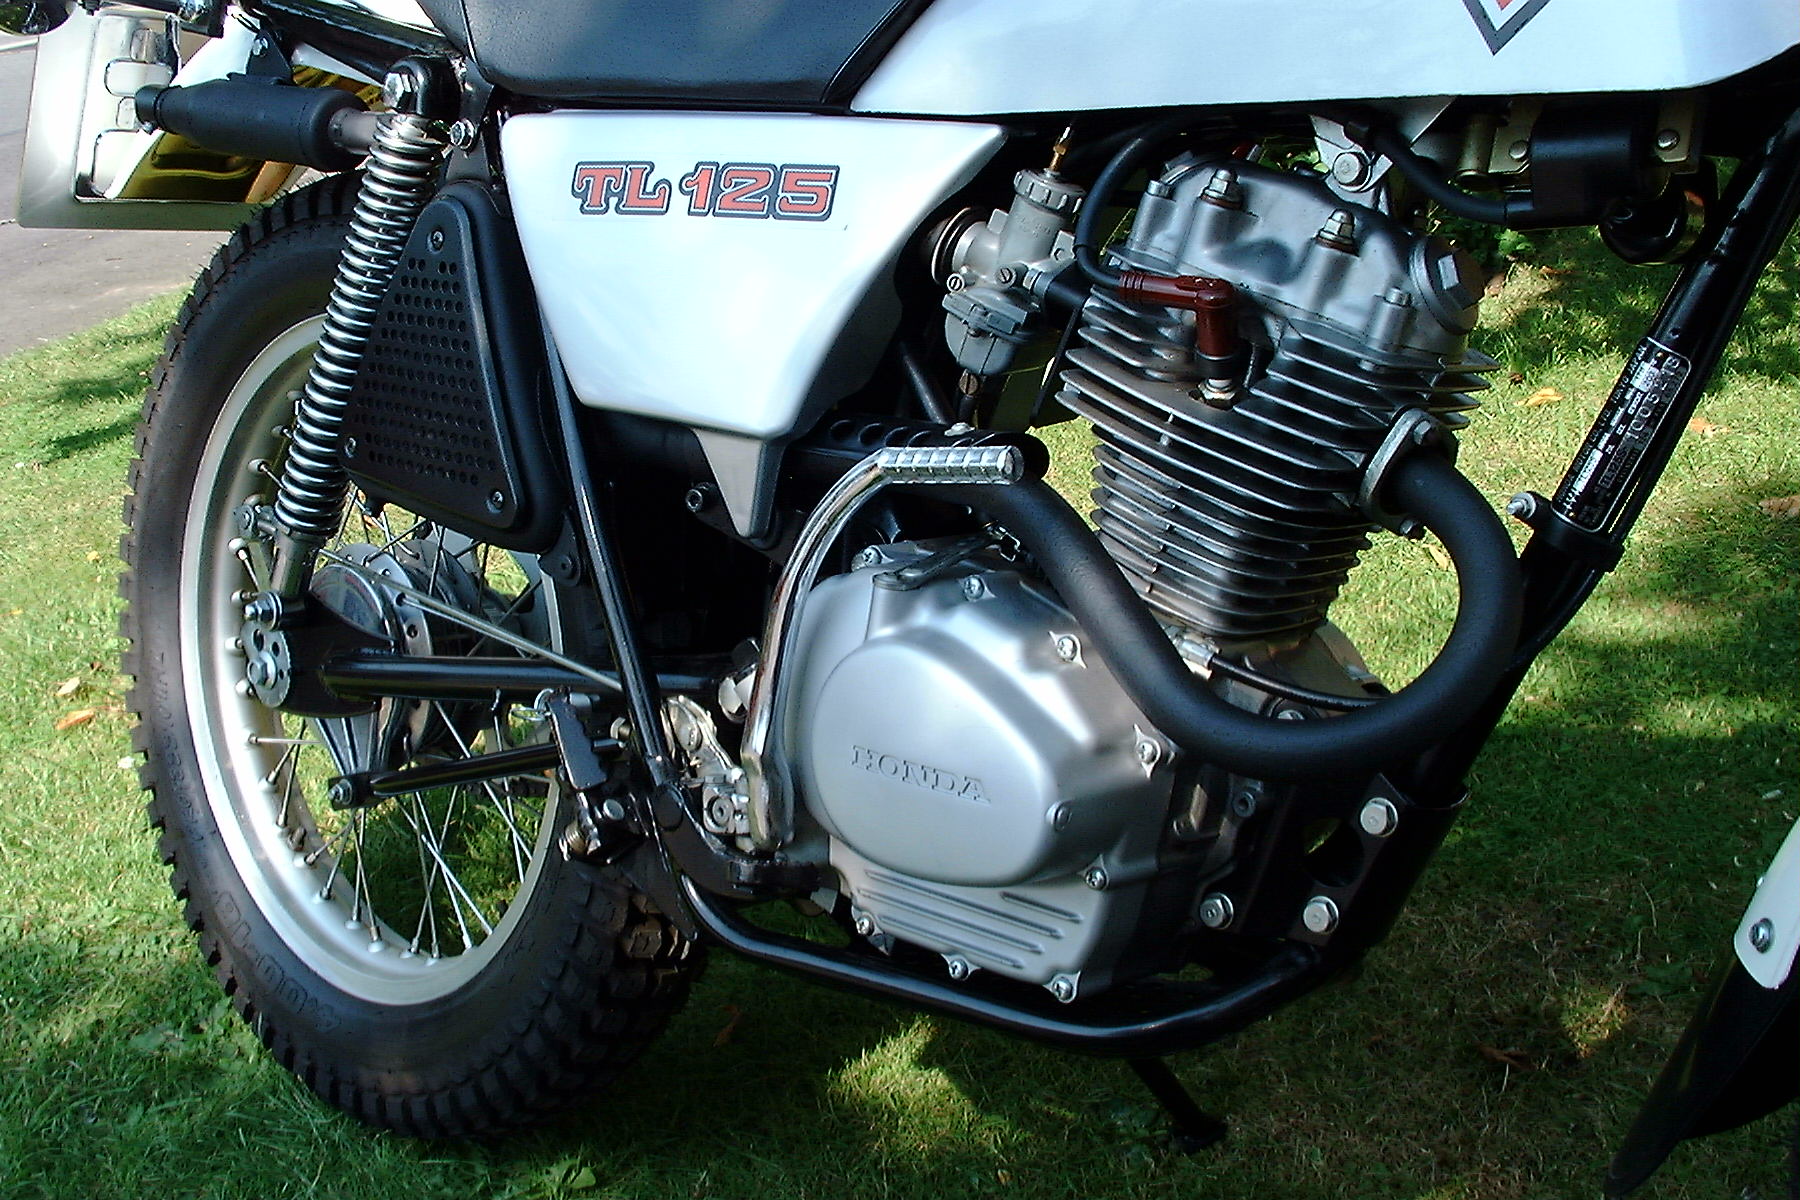
Engine Close up
The engine was the biggest challenge to replicate the existing paint finish from the factory, I experimented with different paint and found an exact match. The alloy engine casings and barrel were vapour blasted and lightly sanded to remove oxidation and corrosion prior to polishing or painting.
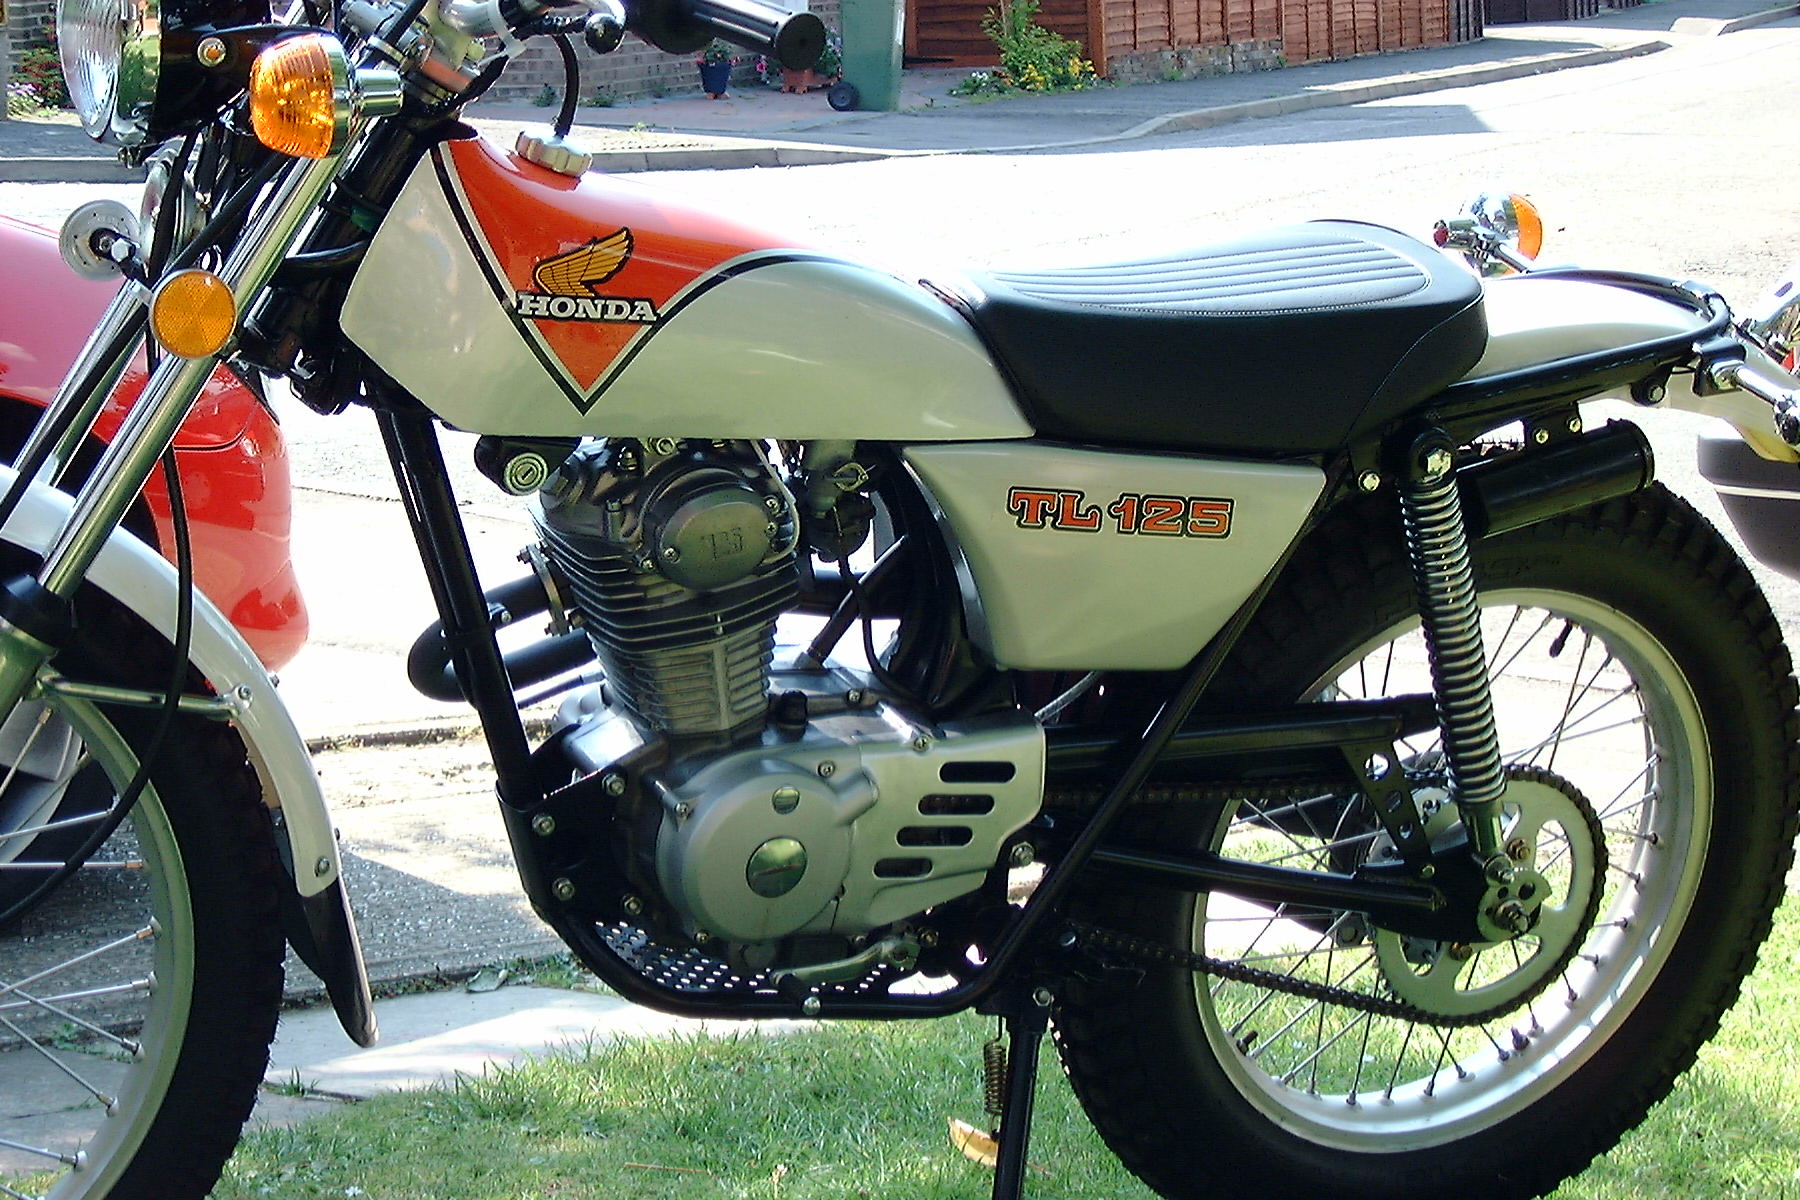
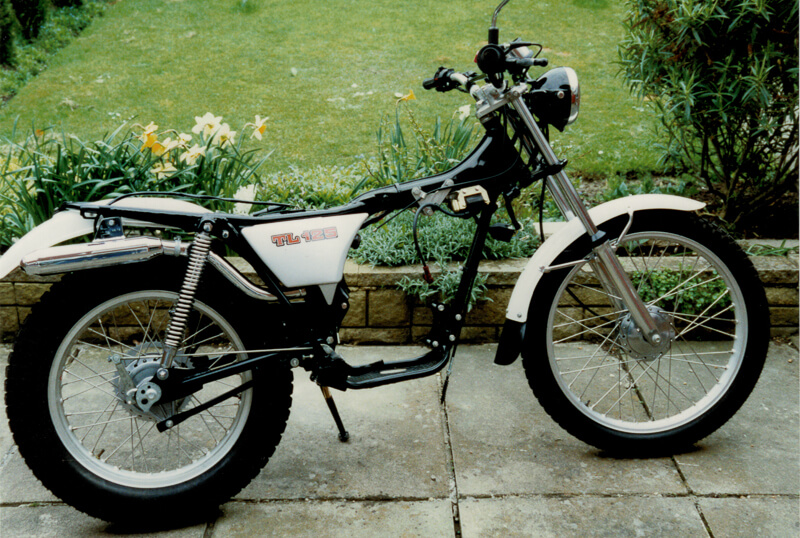
LEFT SIDE VIEW
This side view enhances the clean look of the machine, I managed to find a good but used original tool holder tube which is fitted to the frame above the rear wheel. I don’t yet have a set of ‘original tools’ and their tool roll to go in the holder , but am still on the hunt for a set!
Rolling Chassis
The rolling chassis was now complete with brand new wiring loom and all ancillaries fitted. Before fitment of the Engine I needed to source the exhaust pipe sections, that would prove to be difficult owing to availability of the original Honda OEM parts.
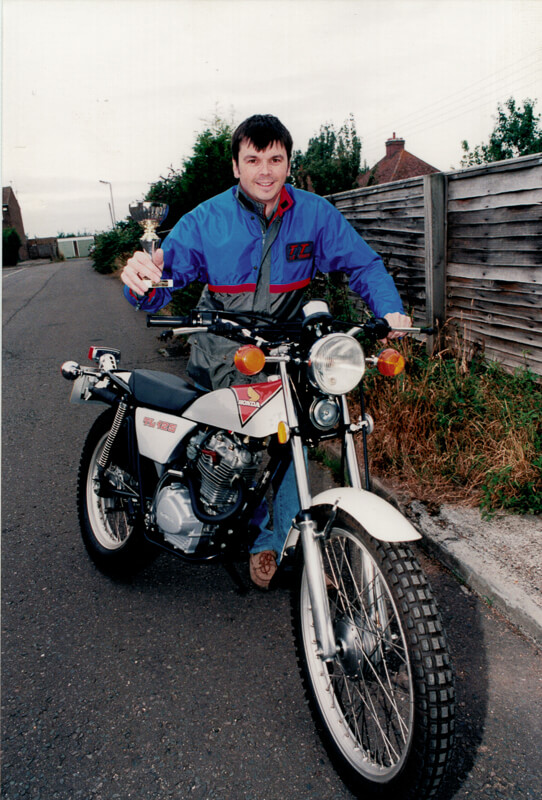
Trophy
Here is the bike finished after restoration and me celebrating with my VJMC trophy!
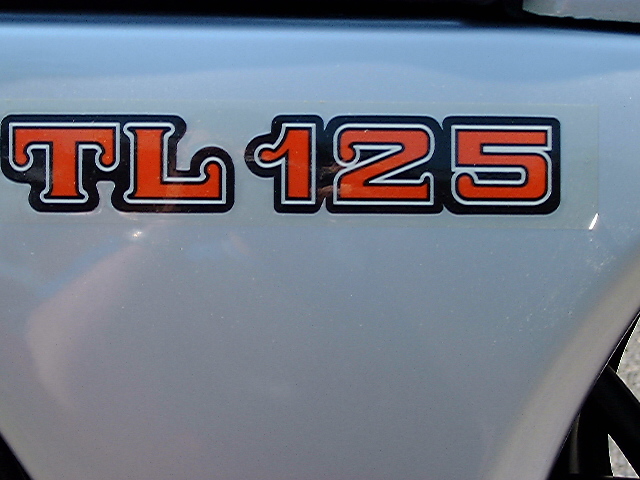
SIDE PANELS
The original Honda made decals fitted to the side panels I have experienced these deteriorating over time and the adhesive glue yellowing on the back of the clear section of the sticker. I have posted details of the problem in the Forum message board, and a fix will be forthcoming.

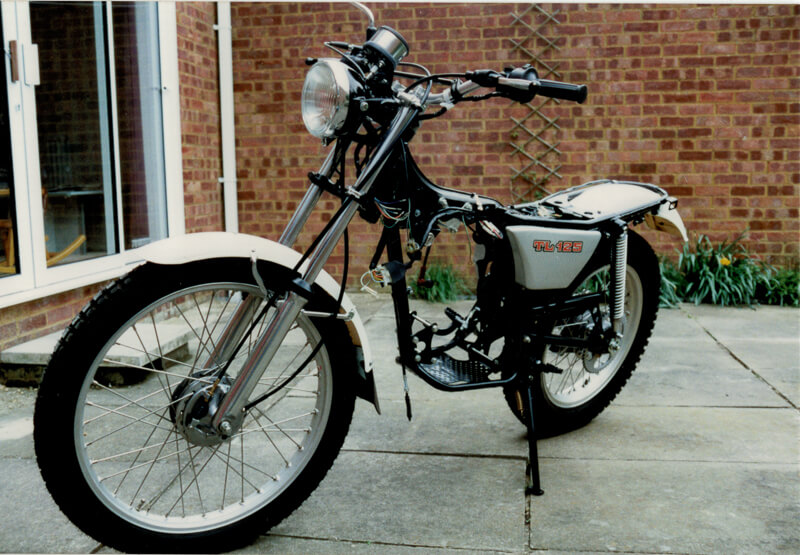
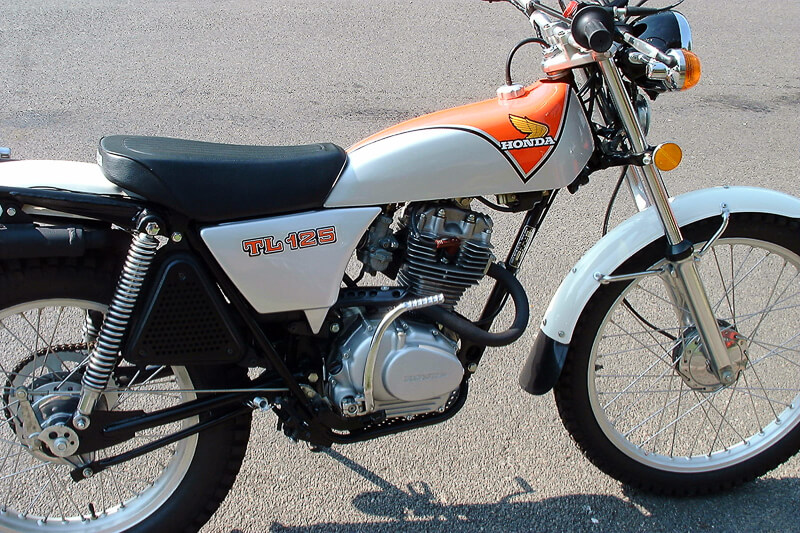
RIGHT SIDE VIEW
This photo shows the bike but without both mirrors fitted, I will be adding some more high quality and resolution photographs to the site showing more close-up details in the future, to assist if you are looking to detail or replicate the standard of finish to ‘concours’ or factory fresh standard. I did go a bit overboard with some of the re-zinc plated items as I secondary coated these with clear coat lacquer to prevent further oxidation or corrosion!
Miller Exhaust
Initially, I did purchase a Sammy Miller non-standard exhaust but after fitment to the bike decided not to continue with this system, I was determined to find an original New Honda exhaust system, which after much searching was able to purchase the 3 number sections individually, over a period of time.
Right hand side
Here you can see some of the close up detail especially the wheel hubs which were vapour blasted, then polished at the wheel builders, before fitment of the new wheel spokes. I knew that over time the re-plated zinc parts would eventually discolour and corrode, therefore I gave them a light clear lacquer coating for additional protection. To-date they have held up well and show no signs of discolouration. Maybe ‘over the top’ here, but it has saved them needing re-plating again!